How to add eyes to a knitted toy

This photo tutorial shows you how to eyes to a knitted toy such as my Robert & Rosie Rabbit pattern

1. When you stuff the head, be sure to leave a small opening either at the back of the head or at the base.Do not sew this up until you have added all the facial features.
Mark where you want the eyes to go with 2 glass headed pins. Take your time over this and study the position from all angles. it will determine the character of your toy.
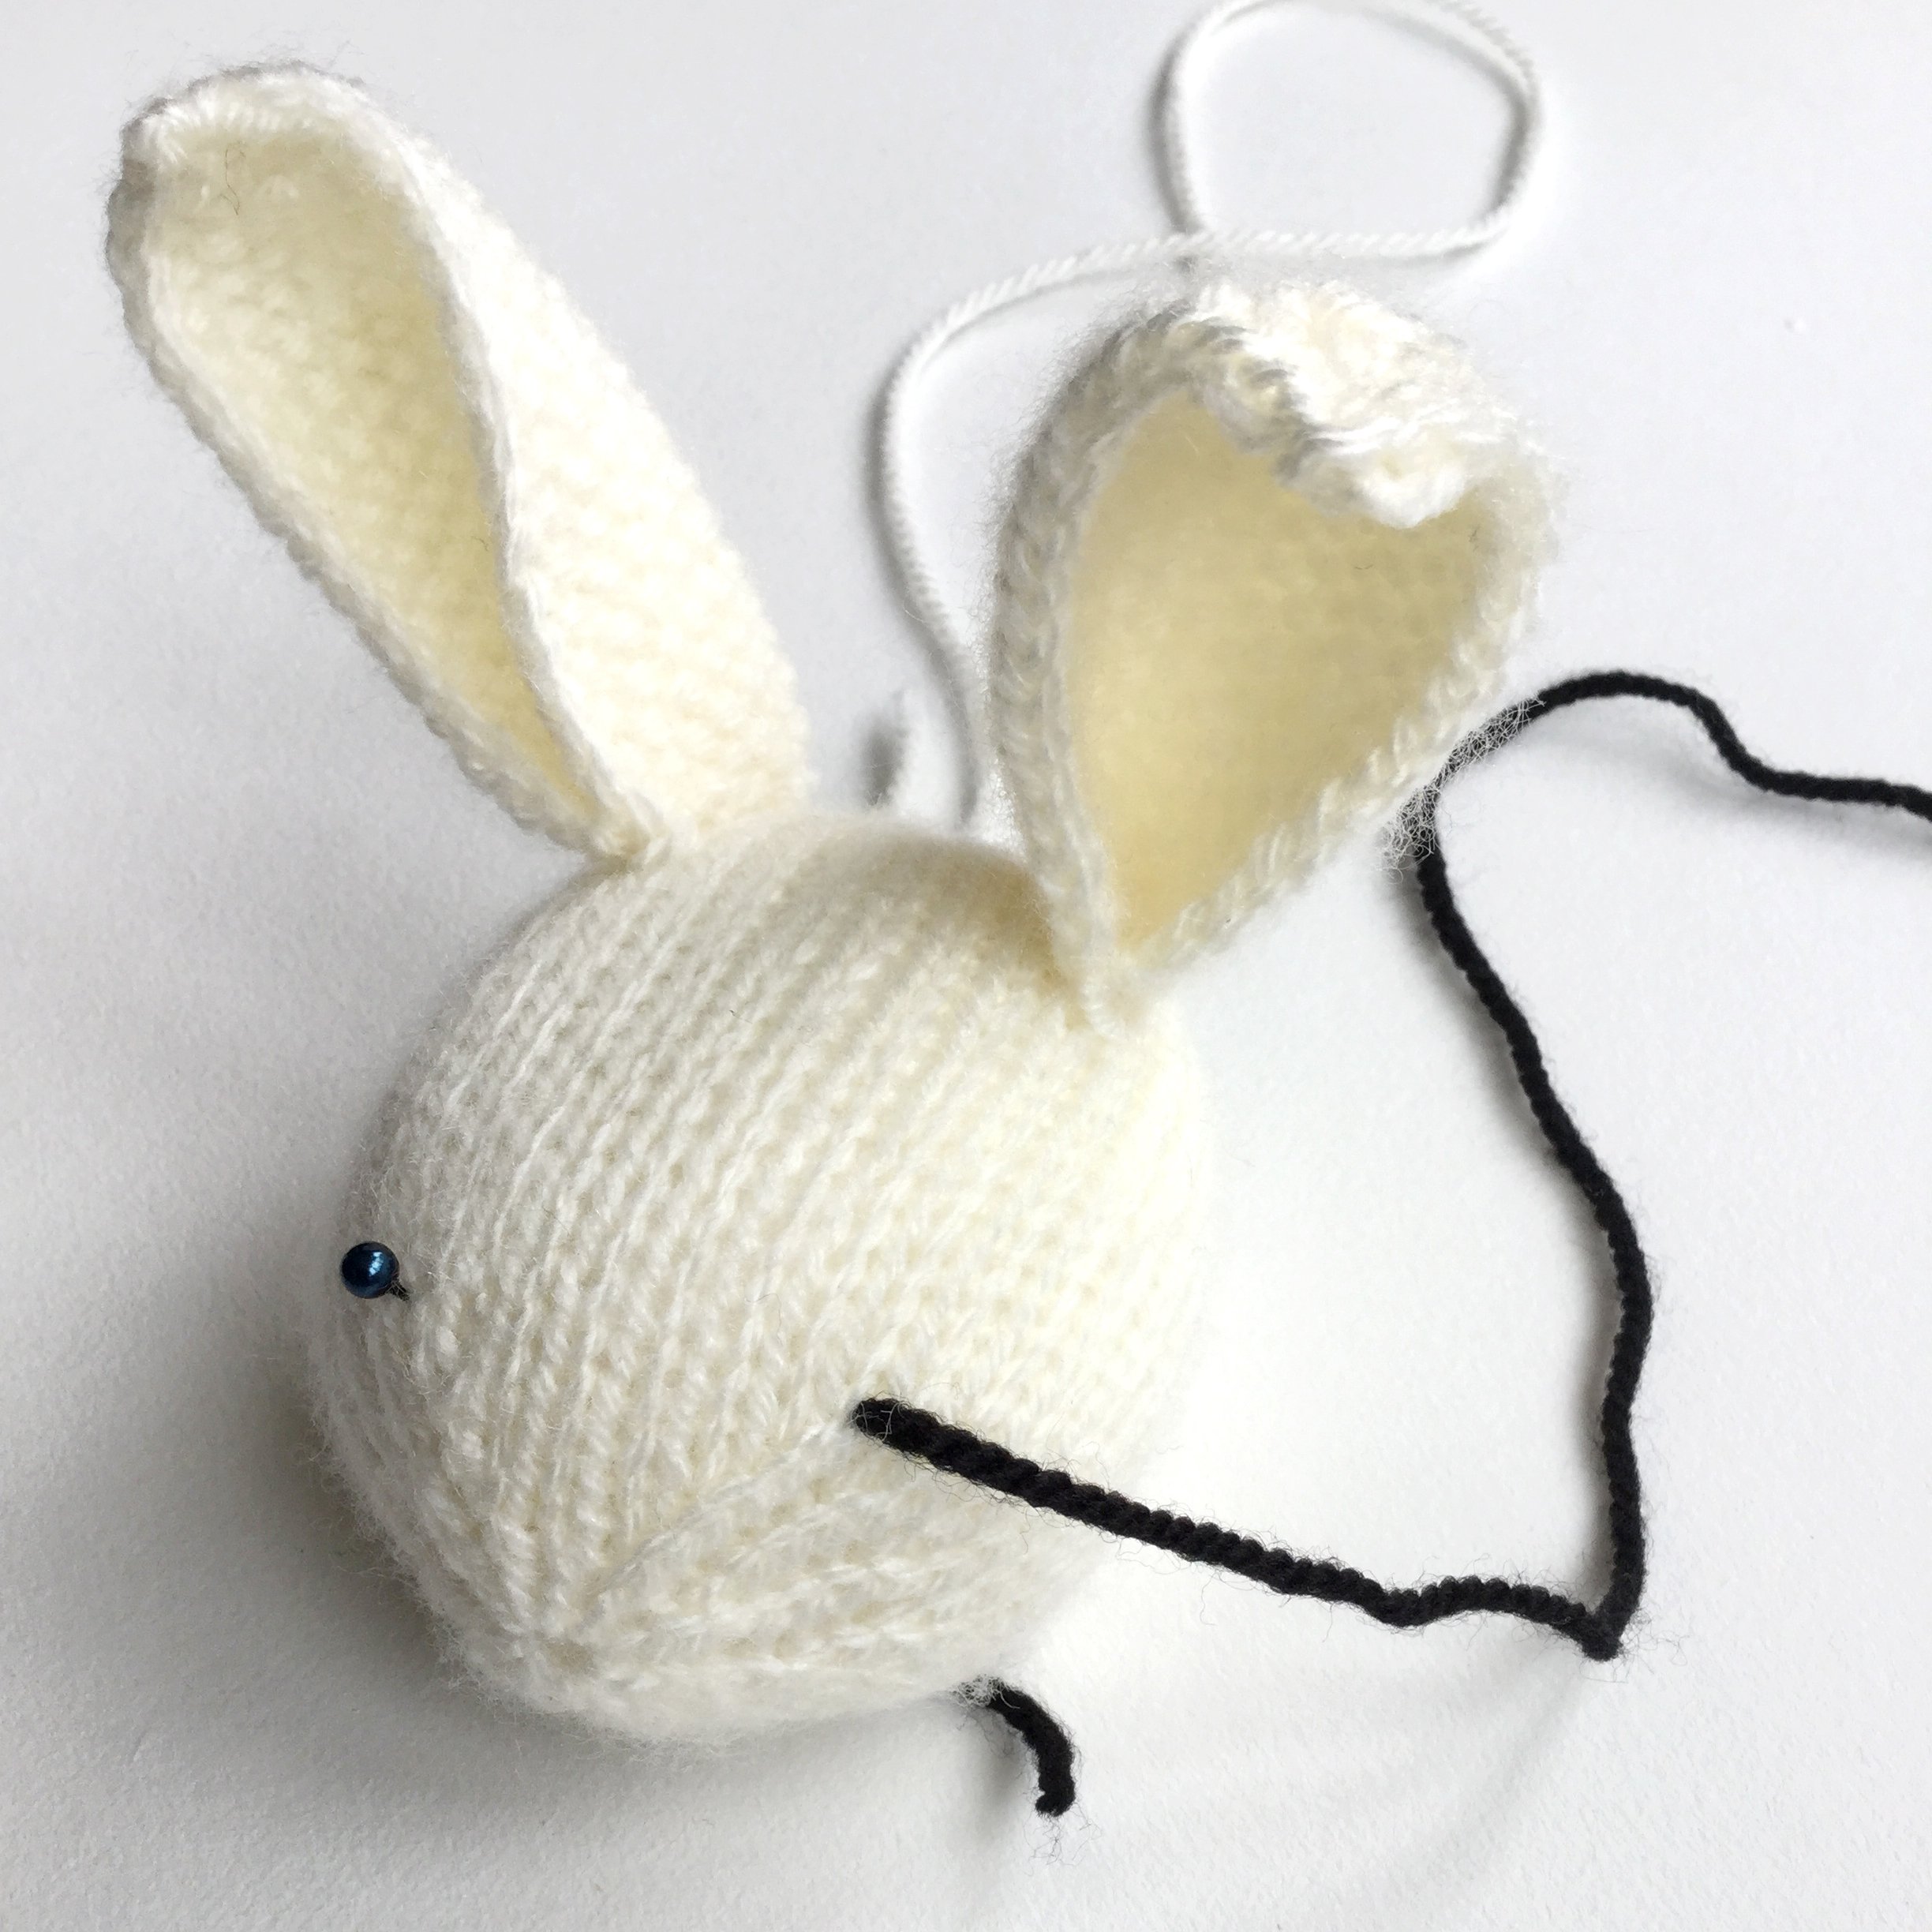
2. Thread a tapestry needle with black or dark brown yarn of a similar weight to the yarn the toy was knitted in.
Take the needle in through the opening in the head (in this case the opening is at the base) out at one of the positions marked by a pin.
Leave a sufficiently long enough tail of yarn outside the head to tie off the ends when you have finished the eyes.
Remove the pin.

3. Make a small stitch across one whole knitted stitch to prevent the eye burrowing down into the stuffing.

4. Work a french knot, taking the yarn 2 or 3 times round the needle.
Secure the stitch by taking your needle back into the stuffing in the head.

5. Take your needle back out through the position marked by the second pin.
Make one stitch across a whole knitted stitch as you did for the first eye, pulling the yarn tightly so that the knitting around the eye indents a little.

6. Work a second French knot.
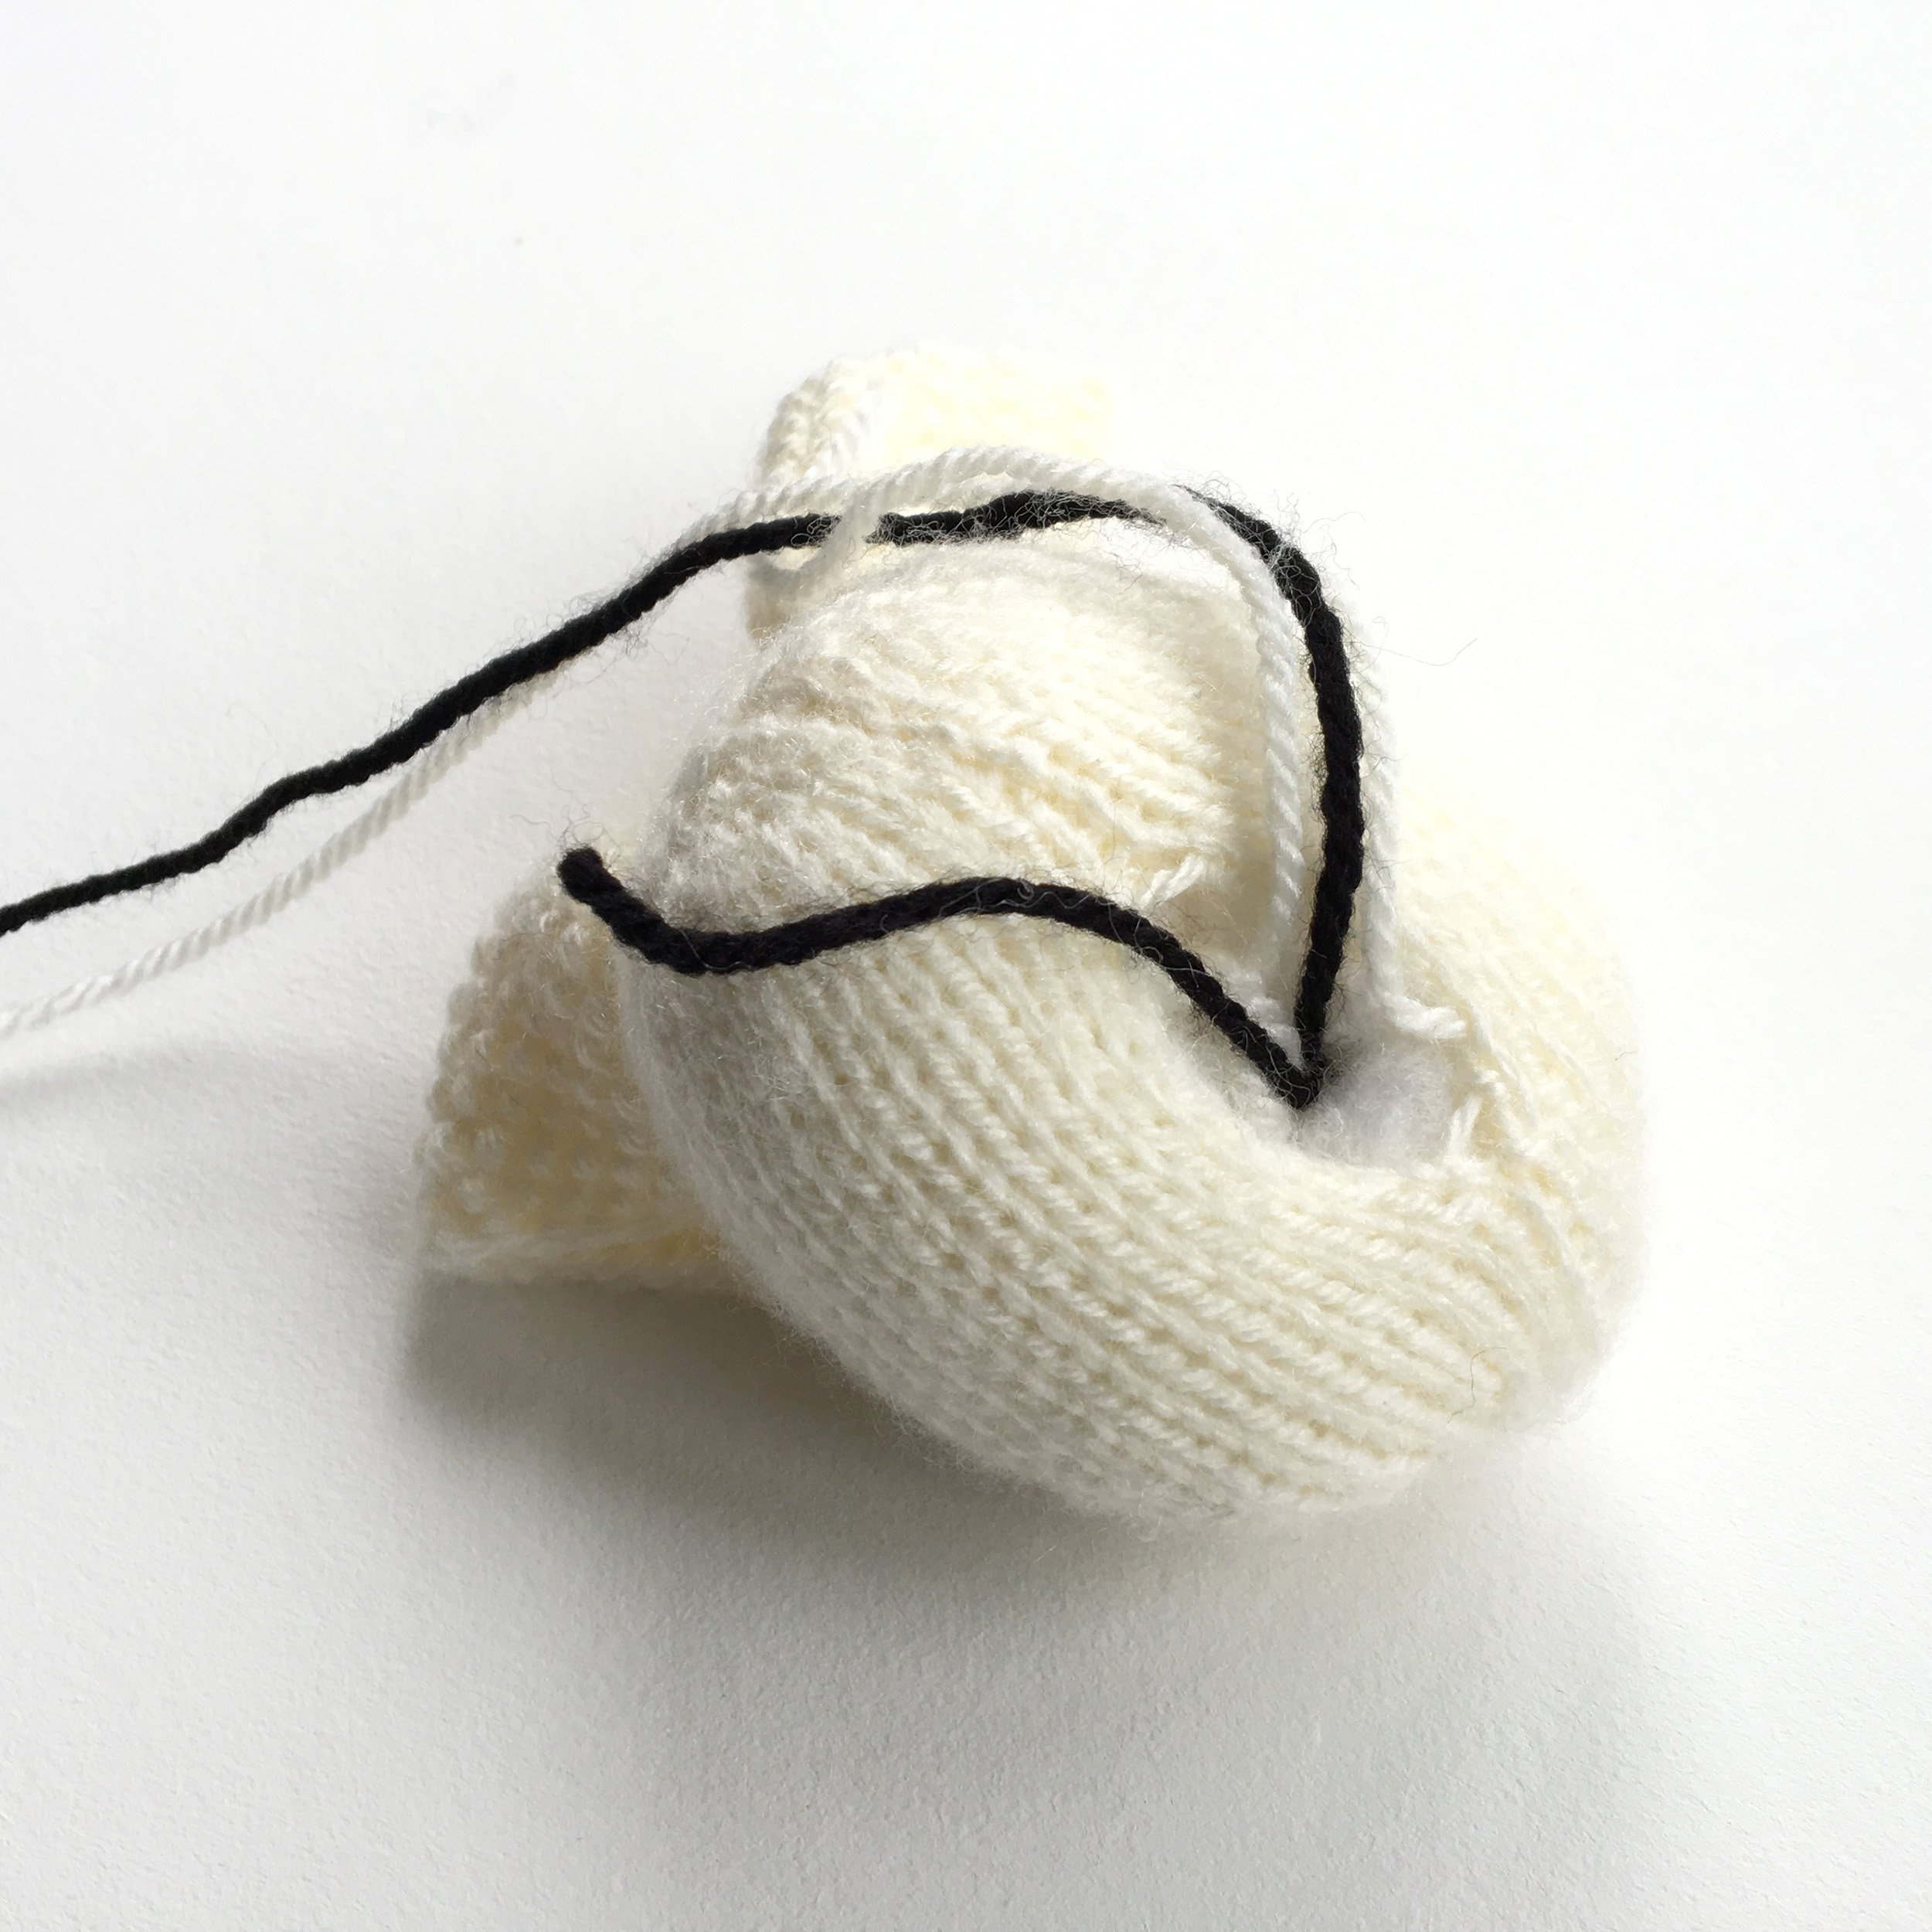
7. Take your needle back out through the opening in the head. Pull tightly on both ends of the yarn so that equal indentations are created around both eyes.
Knot the 2 yarn ends firmly together.

Don’t sew up the opening in the head until you have added the nose and mouth!
You can find the tutorial for that here